리눅스에서 SD카드에 이미지를 넣는것은 초보자들에게는 어렵습니다.
오드로이드 홈페이지에 방법이 올라와 있는데 링크는 다음과 같습니다.
방법은 다음과 같습니다.
Copying an image to the SD Card in Linux (command line)
Please note that the use of the "dd" tool can overwrite any partition of your machine. If you specify the wrong device in the instructions below you could delete your primary Linux partition. Please be careful.
- Download a zipped image from this link or other mirrors
- Extract the image, with (just an example)
- unzip ~/OdroidX_image_31-Jul-2012.zip
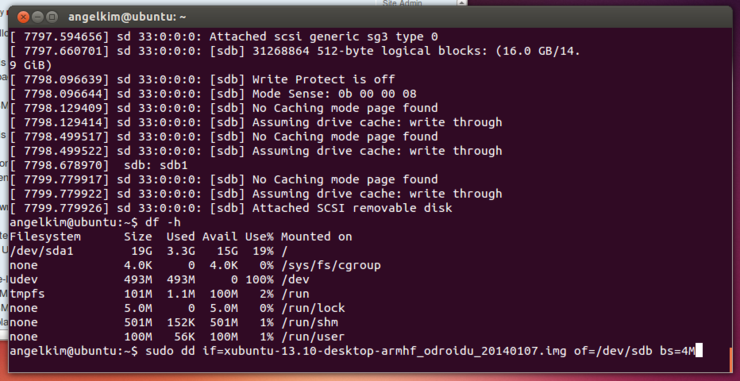
- Run df -h to see what devices are currently mounted
- If your computer has a slot for SD cards, insert the card. If not, insert the card into an SD card reader, then connect the reader to your computer.
- Run df -h again. The device that wasn't there last time is your SD card. The left column gives the device name of your SD card. It will be listed as something like "/dev/mmcblk0p1" or "/dev/sdd1". The last part ("p1" or "1" respectively) is the partition number, but you want to write to the whole SD card, not just one partition, so you need to remove that part from the name (getting for example "/dev/mmcblk0" or "/dev/sdd") as the device for the whole SD card. Note that the SD card can show up more than once in the output of df: in fact it will if you have previously written a ODROID image to this SD card, because the ODROID SD images have more than one partition.
- Now that you've noted what the device name is, you need to unmount it so that files can't be read or written to the SD card while you are copying over the SD image. So run the command below, replacing "/dev/sdd1" with whatever your SD card's device name is (including the partition number)
- umount /dev/sdd1
- Note that if you are not logged in as root you will need to prefix this with sudo
- If your SD card shows up more than once in the output of df due to having multiple partitions on the SD card, you should unmount all of these partitions.
- In the terminal write the image to the card with this command, making sure you replace the input file if= argument with the path to your .img file, and the "/dev/sdd" in the output file of= argument with the right device name (this is very important: you will lose all data on the hard drive on your computer if you get the wrong device name). Make sure the device name is the name of the whole SD card as described above, not just a partition of it (for example, sdd, not sdds1 or sddp1, or mmcblk0 not mmcblk0p1)
- dd bs=1M if=ODROID-X_31_07_2012.img of=/dev/sdd
- Note that if you are not logged in as root you will need to prefix this with sudo
- The dd command does not give any information of its progress and so may appear to have frozen. It could take more than five minutes to finish writing to the card. If your card reader has an LED it may blink during the write process, or you can run pkill -USR1 -n -x dd in another terminal (prefixed with sudo if you are not logged in as root).
- As root run the command sync or if a normal user run sudo sync (this will ensure the write cache is flushed and that it is safe to unmount your SD card)
- Remove SD card from card reader, insert it in the ODROID, and have fun
Copying an image to the SD Card in Linux (graphical interface)
If you are using Ubuntu and hesitate to use the terminal, you can use the ImageWriter tool (nice graphical user interface) to write the .img file to the SD card.
- Download a zipped image from this link or other mirrors
- Right click the zip file and select "Extract here"
- ATTENTION: As of this writing (15 June 2012), there is a bug in the ImageWriter program that causes it to fail if the filename of the image file or its path (i.e. all the names of any parent folders that you extract the image file into) contain any space characters. Before going any further, ensure that neither the file name of the image you're using or the path contain any spaces (or other odd characters, for that matter). A bug has been opened for this issue:https://bugs.launchpad.net/usb-imagewriter/+bug/1013834 Once the issue is fixed, edit this page to advise people to use an updated/patched version of ImageWriter.
- Insert the SD card into your computer or connect the SD card reader with the SD card inside
- Install the ImageWriter tool from the Ubuntu Software Center
- Launch the ImageWriter tool (it needs your administrative password)
- Select the image file (example ODROID-X_31_07_2012.img) to be written to the SD card (note: because you started ImageWriter as administrator the starting point when selecting the image file is the administrator's home folder so you need to change to your own home folder to select the image file)
- Select the target device to write the image to (your device will be something like "/dev/mmcblk0" or "/dev/sdc")
- Click the "Write to device" button
- Wait for the process to finish and then insert the SD card in the ODROID
간략하게 말하면 경로를 지정하고 이미지를 다운로드해주면 됩니다.

유투브에 동영상으로 올린이도 있습니다.
링크
여기서도 자세히 볼수 있습니다.
설치기
윈도우에서 설치할 때
파일이 제대로 들어 갔는지 확인하는 방법
md5sum 이용
링크
---------------------------------------------------------------------------------------------------
XBMC를 기본으로 하는 멀티미디어에 특화된 RaspBMC 배포판을 사용합니다.
뭐 물론 라즈베리파이 자체가 멀티미디어 재생에 좀 더 중점을 두긴 했지만요.
위 링크에서 쭉 내려서 RaspBMC 배포판을 다운로드 합니다.
웹다운로드하고 토렌트가 있는데 현재 토렌트는 시드가 없는 것 같습니다.
raspbmc-2013-10-02.img.gz 를 클릭하여 다운로드 합니다.
압축을 풀면 sd.img 라는 파일 딱 하나가 나올것입니다.
설치 방법은 두가지가 있습니다.
vmware, virtualbox 등 가상머신에 우분투 등 리눅스 배포판을 설치해서 작업하는 것
윈도우에서 Image Writer for Windows 를 사용하는 것
우선 사전준비로 SD카드와 리더기가 필요합니다.
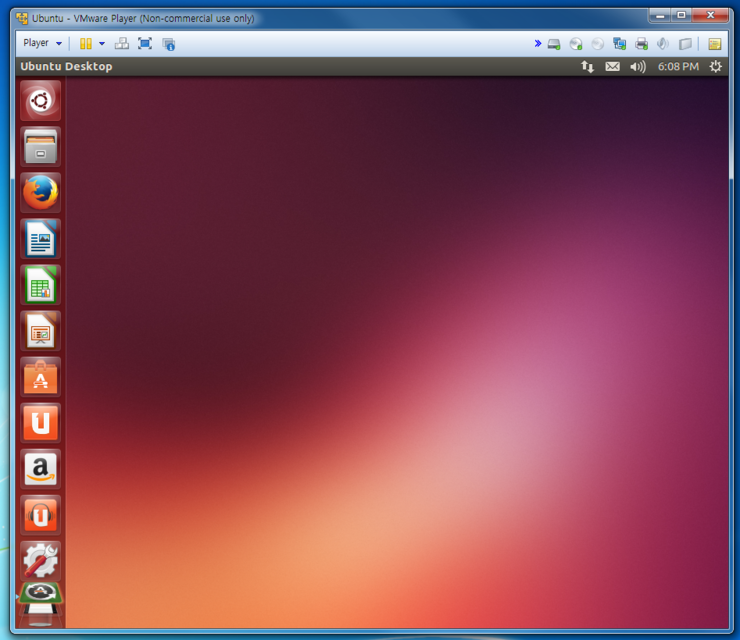
리눅스에서는,
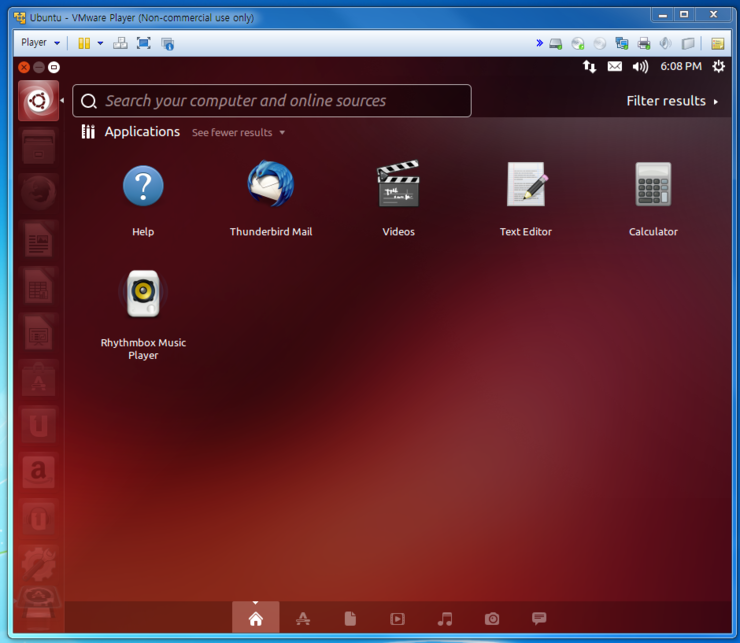
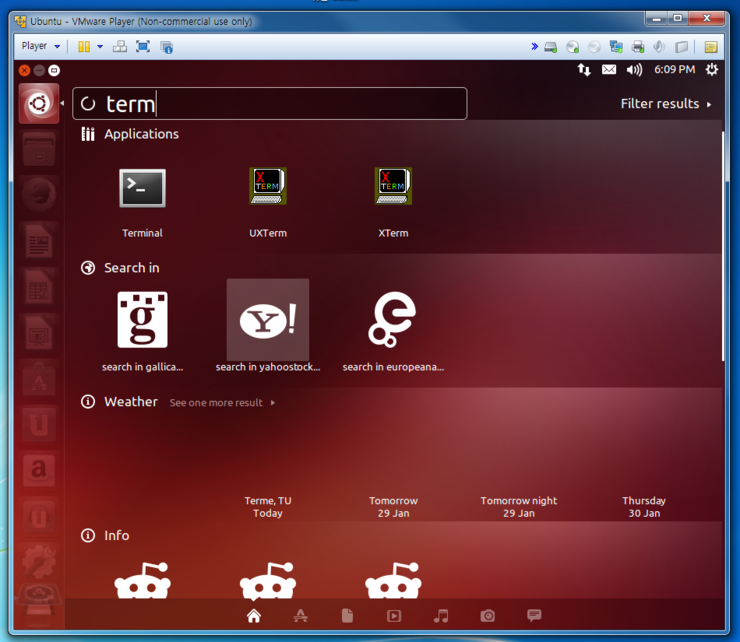
터미널을 열고
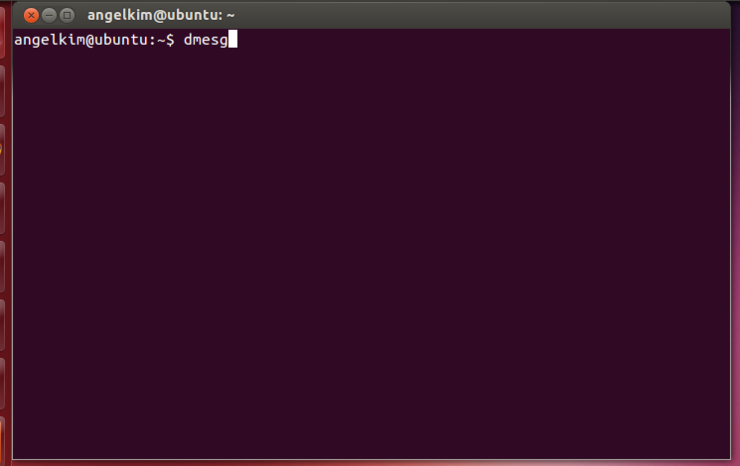
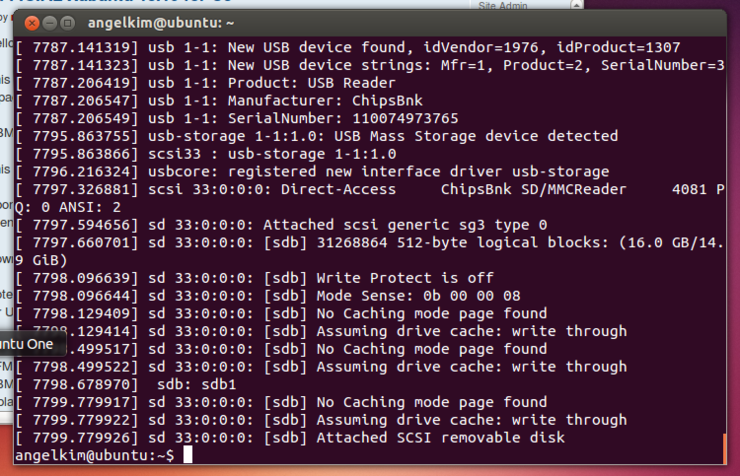
sudo fdisk -l 하면 디스크의 목록이 보일것입니다.
장치를 확인해서 다음과 같이 이미지를 SD카드에 기록합니다.
저의 경우에는 /dev/sdb1 이 보였으니 /dev/sdb 로 했습니다.
혹시나 /dev/sdb1을 그대로 넣지 마세요. 파티션이 아니라 장치파일 그대로 넣어야 합니다.
sudo dd if=sd.img of=/dev/sdb bs=2M
프롬프트가 다시 뜰 때까지 좀 기다려야 됩니다.
[출처] 오드로이드 U3[SD카드에 우분투 올리기(리눅스)]|작성자 하늘보리
'ODROID U3' 카테고리의 다른 글
| 주분투 [한글화] (0) | 2014.03.13 |
|---|---|
| 윈도우에서 가상으로 주분투 돌리기 (2) | 2014.03.13 |
| 오드로이드 U3[SD카드에 우분투 올리기(윈도우)] (1) | 2014.03.13 |
| 오드로이드 U3[7-zip] (0) | 2014.03.13 |
| 윈도우에서 가상으로 우분투 돌리기 (2) | 2014.03.13 |